Introduction
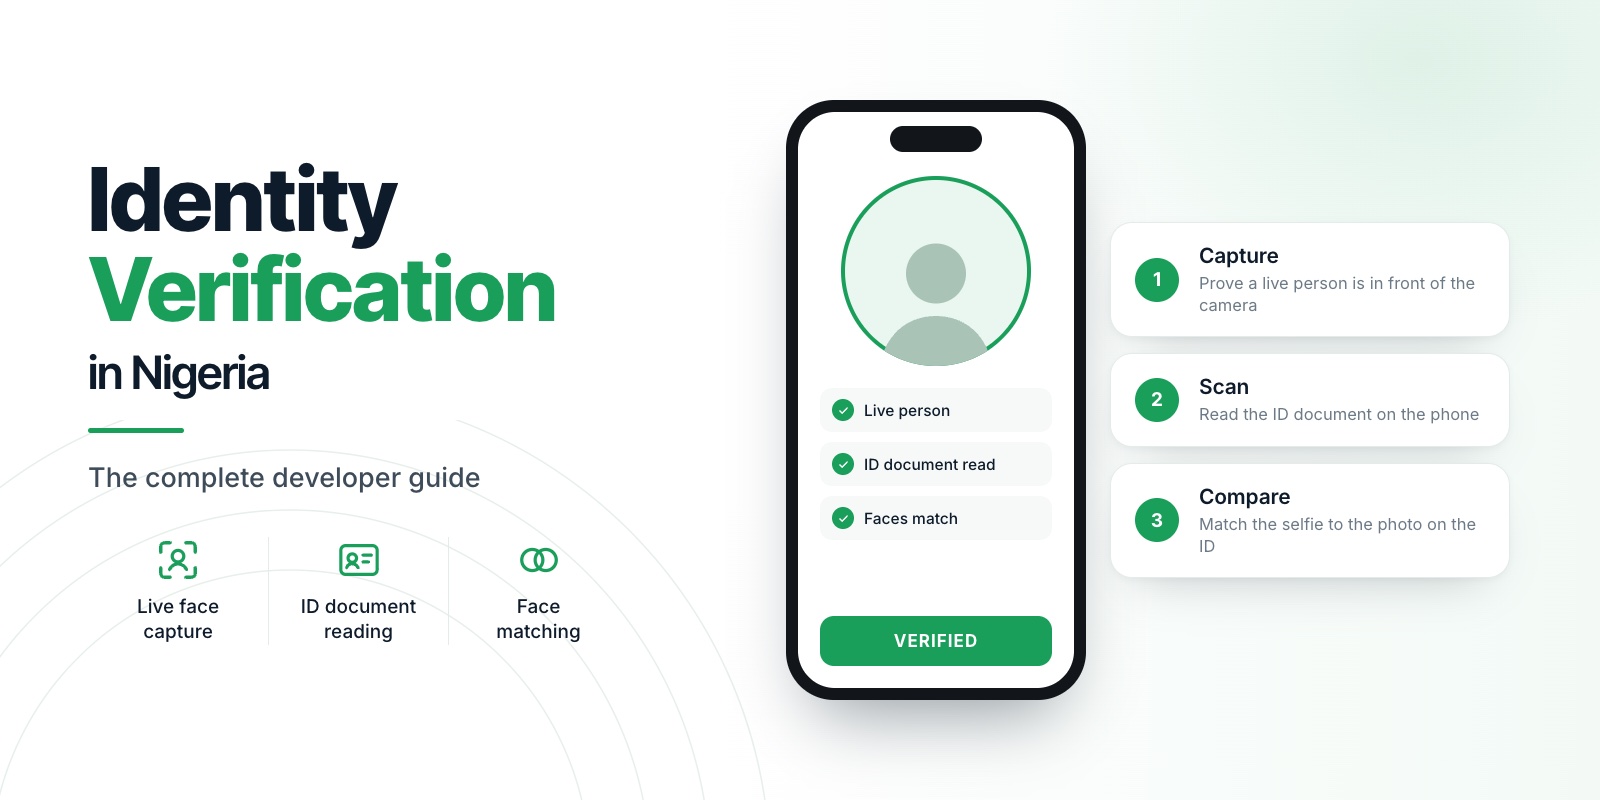
New to identity verification in Nigeria? Start with our complete developer guide.
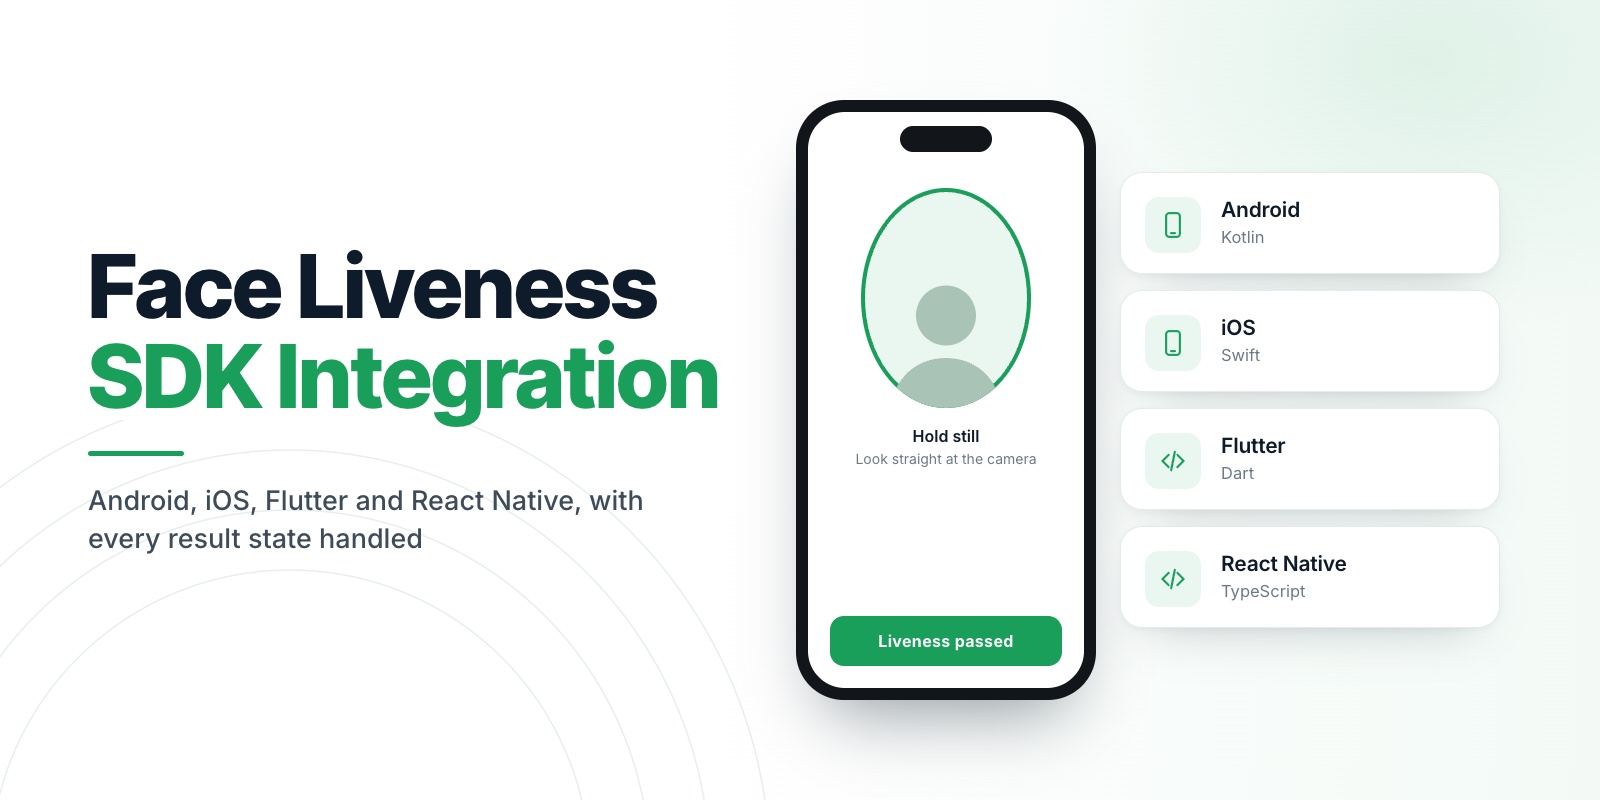
Mobile developers: add face liveness to your Android, iOS, Flutter or React Native app with a few dozen lines of code and an SDK that can never crash your app. Face liveness SDK integration comes down to three things: the SDK in the app, two small routes on your backend and a handler for every result. Here is the full path, platform by platform.
Follow along with a real key. Create a free account and you get a sandbox key in minutes. No card, no business verification. Start free
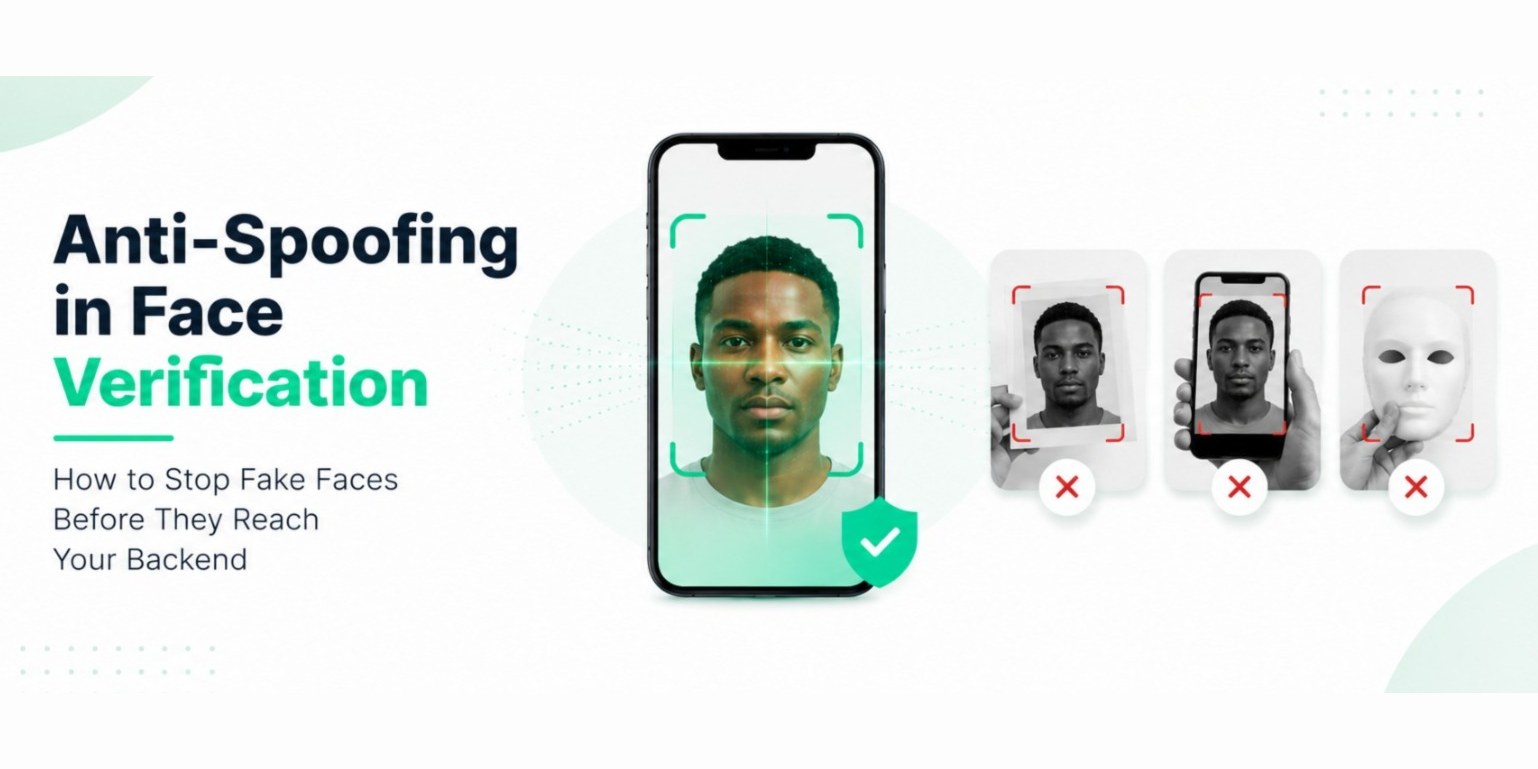
If you are new to the idea, start with Face Liveness Detection Explained and the complete developer guide.
01Before you start
- Create an account and a sandbox key (it starts with
veris_sandbox_). The sandbox needs only a verified email. - Keep your license key out of the app's source where you can. The mobile SDK needs it to start, but every call that moves money or makes a decision belongs on your backend.
- Check the Capture docs for the current version number for your platform.
02Step 1: add the backend routes
Capture uses a one-time number, called a nonce, to stop a captured result from being replayed. You need two routes.
The first issues a nonce for each session and remembers it briefly:
import { randomUUID } from 'node:crypto';

const pending = new Map(); // use Redis with a short TTL in production

app.post('/verification/nonce', requireUser, (req, res) => {
  const nonce = randomUUID();
  pending.set(nonce, { userId: req.user.id, expires: Date.now() + 10 * 60_000 });
  res.json({ nonce });
});
The second receives the signed result from the app and verifies it with Veris. The SDK hands your app a signed token (signedResult). Your backend sends that token, with your license key, to the verification endpoint:
app.post('/verification/capture-result', requireUser, async (req, res) => {
  const { signedResult } = req.body;

  const response = await fetch('https://api.verisinfra.com/v1/sdk/verify-result', {
    method: 'POST',
    headers: { 'Content-Type': 'application/json' },
    body: JSON.stringify({
      license_key: process.env.VERIS_LICENSE_KEY,
      token: signedResult,
    }),
  });
  const verdict = await response.json();

  if (!response.ok || !verdict.valid) {
    return res.status(400).json({ reason: verdict.reason });
  }

  // The token is now verified and its nonce is spent. Read the scores from its payload,
  // and confirm the nonce is one you issued to this user.
  const payload = JSON.parse(
    Buffer.from(signedResult.split('.')[1], 'base64url').toString('utf8')
  );
  const issued = pending.get(payload.nonce);
  if (!issued || issued.userId !== req.user.id) {
    return res.status(400).json({ reason: 'NONCE_NOT_ISSUED_TO_USER' });
  }
  pending.delete(payload.nonce);

  res.json({ ok: true, liveness: payload.liveness_score, quality: payload.quality_score });
});
A rejected result comes back with a non-200 status, valid: false and a reason, for example NONCE_REPLAYED, NONCE_EXPIRED, INVALID_SIGNATURE or SANDBOX_RESULT_REJECTED. Sandbox results are always rejected by a production verification, so you cannot ship sandbox output to production by accident.
03Step 2: Android (Kotlin)
Add the dependency from your app module (use the latest version from the Capture docs):
implementation 'com.verisinfra:veris-capture-android:<version>'Register for results as a field on your Activity, so it is registered before the screen starts:
class MainActivity : AppCompatActivity() {
    val verisLauncher = VerisCapture.registerForResult(this) { result ->
        when (result) {
            is VerisResult.Success -> verifyWithBackend(result.signedResult)
            is VerisResult.Failure -> showError(result.humanReadableReason)
            is VerisResult.Cancelled -> { /* user dismissed */ }
            is VerisResult.SubscriptionInactive -> showUpgradePrompt()
        }
    }
}
Initialise once in onCreate, then start a session with a fresh nonce each time:
VerisCapture.init(
    context = this,
    config = VerisConfig(licenseKey = "veris_sandbox_xxxx", initNonce = fetchNonceFromBackend()),
) { init -> if (init is VerisInitResult.Ready) { /* ready */ } }

VerisCapture.startCapture(
    launcher = verisLauncher,
    config = VerisSessionConfig(nonce = fetchNonceFromBackend()),
)04Step 3: iOS (Swift)
Add VerisCapture to your project (check the Capture docs for the current iOS install steps) and set the minimum deployment target to iOS 15.
VerisCapture.initialise(
    config: VerisConfig(licenseKey: "veris_sandbox_xxxx", initNonce: nonceFromBackend)
) { result in
    if case .ready = result { /* ready */ }
}

VerisCapture.startVerification(
    from: self,
    session: VerisSessionConfig(nonce: nonceFromBackend)
) { [weak self] result in
    switch result {
    case .success(let capture): self?.verifyWithBackend(capture.signedResult)
    case .failure(_, let reason, let retryable): self?.showError(reason, canRetry: retryable)
    case .cancelled: break
    case .subscriptionInactive: self?.showUpgradePrompt()
    case .error(_, let message): self?.showError(message, canRetry: true)
    }
}05Step 4: Flutter
Add veris_capture to pubspec.yaml (use the latest version on pub.dev). On iOS, set the platform to 15.0 in your Podfile and run pod install.
await VerisCapture.instance.initialise(
  config: VerisConfig(
    licenseKey: 'veris_sandbox_xxxx',
    initNonce: await fetchNonceFromBackend(),
  ),
);

final result = await VerisCapture.instance.startVerification(
  session: VerisSessionConfig(nonce: await fetchNonceFromBackend()),
);

switch (result) {
  case VerisSuccess s:
    verifyWithBackend(s.signedResult);
  case VerisFailure f:
    showError(f.humanReadableReason);
  case VerisCancelled _:
    break;
  case VerisSubscriptionInactive _:
    showUpgradePrompt();
  case VerisError e:
    showError(e.message);
}06Step 5: React Native
Install the package and the native pods:
npm install @verisinfra/react-native-capture
cd ios && pod install
import { VerisCapture } from '@verisinfra/react-native-capture';
await VerisCapture.initialise({
licenseKey: 'veris_sandbox_xxxx',
initNonce: await fetchNonceFromBackend(),
});
const result = await VerisCapture.startVerification({
nonce: await fetchNonceFromBackend(),
});
switch (result.type) {
case 'success':
verifyWithBackend(result.signedResult);
break;
case 'failure':
Alert.alert('Verification failed', result.reason);
break;
case 'subscriptionInactive':
showUpgradePrompt();
break;
case 'cancelled':
break;
case 'error':
Alert.alert('Something went wrong', result.message);
break;
}07Handle every result
The SDK always ends a session in a typed result, and it never throws an unhandled exception into your app. Four outcomes matter most, and the iOS, Flutter and React Native wrappers add an error case for unexpected problems, which you should treat as retryable.
- Success: the face was captured and every check your plan includes passed. Send the signed result to your backend. Do not trust it on the phone.
- Failure: a check failed, such as quality or liveness. Show the human-readable reason and offer a retry. Do not send this to your backend.
- Cancelled: the user closed the screen. Return them to your flow without an error.
- Subscription inactive: the plan has lapsed. Show a renewal message to your own team or the user, depending on your product. Never block the rest of the app.
08Choosing the liveness level
What liveness checks run depends on your plan. Passive liveness is available from the Launch plan, active liveness with one challenge round from Scale, and two to four configurable rounds on Pro. On Pro you can force the challenge even when passive liveness passed, which suits high-value transfers. The SDK reads the feature flags when it validates your key, so upgrading a plan needs no code change. See pricing for the current plan details.
09Testing checklist
- Run the sandbox flow end to end, including a failed capture, a cancel and a replayed nonce.
- Try the cheapest phone you can find, in a dim room, then in daylight.
- Confirm your backend rejects a result whose nonce it did not issue, and one it has already seen.
- Confirm the app handles the case where validation is unavailable, such as no network.
The SDK adds roughly 20–25 MB per device architecture, so publish an App Bundle. We cover size and performance in Mobile Identity Verification on Low-End Android Devices. For the next step after capture, read Face Matching API Explained. The product overview is on the Capture page.
10What waiting costs you
Until liveness is in, a photo of a photo can open an account in your app. Every one of those is a fake user, a defaulted loan or a bonus you paid out for nothing.
There is also a quieter cost. The longer you wait, the more users you have to re-verify later, and re-verifying existing users is harder than verifying new ones.
The integration itself is not the hard part. It is a few dozen lines on the phone and two routes on your server.
11What you get for those lines of code
- A guided capture screen that checks lighting, blur and face position before it captures, so your users fail less.
- Liveness that runs on the phone. Nothing is uploaded to Veris during capture.
- A signed result your backend can verify, tied to a single-use nonce so it cannot be replayed.
- One result, always. Success, failure, cancelled or subscription inactive. The SDK never throws into your app and never fails silently.
- The same pattern on every platform. Install, initialise once, start a session. Learn it once.
12The doubts you probably have
"It will bloat our app." The SDK adds roughly 20–25 MB per device architecture. Ship an App Bundle and each phone downloads only its own. That is the cost of anti-spoofing that runs on the device instead of in someone else's cloud.
"It could break our release." It is built so it cannot. Errors come back as typed results, the SDK releases the camera and memory when it finishes or when your app goes to the background, and it does not use the camera in the background.
"We are on Flutter or React Native." Use the veris_capture or @verisinfra/react-native-capture package. You call one API from Dart or TypeScript.
"We do not know which plan we need." You do not need to decide yet. Build against the free sandbox, go live on the free Spark plan and move up when you need stronger liveness. The SDK reads the new features on its next check, so upgrading needs no code change.
"What if it does not work on our users' phones?" Test on the cheapest phone you can find before you pay for anything.
13Your next step
Open your editor, create a free account, copy the sandbox key and run the first capture. If it does not fit, you have lost an hour. If it does, you have just closed the biggest gap in your onboarding.
Create your free Veris account · Free to start · no card · all three products. Product details are on the Capture page.
14FAQ
How long does a face liveness SDK integration take?
The mobile code is a few dozen lines. Most of the effort goes into the two backend routes and handling every result state.
Does the face image leave the phone?
No. Capture runs on the device. Your backend receives a signed result that carries a hash of the face, not the image itself.
Why does the SDK need a nonce?
A nonce is a one-time number that ties a result to a single session. Because your backend issues it and Veris marks it used, a captured result cannot be replayed later.
What happens if the user's subscription lapses?
The SDK returns a clean "subscription inactive" state instead of crashing. Your app decides what to show.
Does it work on Flutter and React Native without separate native work?
Yes, through the veris_capture and @verisinfra/react-native-capture packages. They wrap the native SDKs, so you follow the platform setup steps above and call one API from Dart or TypeScript.